Manual PMS install on Proxmox
This step-by-step guide walks you through a manual setup of a Perfect Media Server on Proxmox. It was written at the start of 2025 and tested against Proxmox v8.3.2, and updated in June 2026 against Proxmox v9.2.3.
By the end of this section, you will have a functioning system. Proxmox will be the base OS, we'll cover the basics of partitioning drives and configuring them to use mergerfs, as well as some other useful stuff like how to setup shares with samba etc.
Info
For a full rationale of why Proxmox is recommended as the base OS, refer to "Which distro should I pick?".
Base OS installation
There are two ways to install Proxmox.
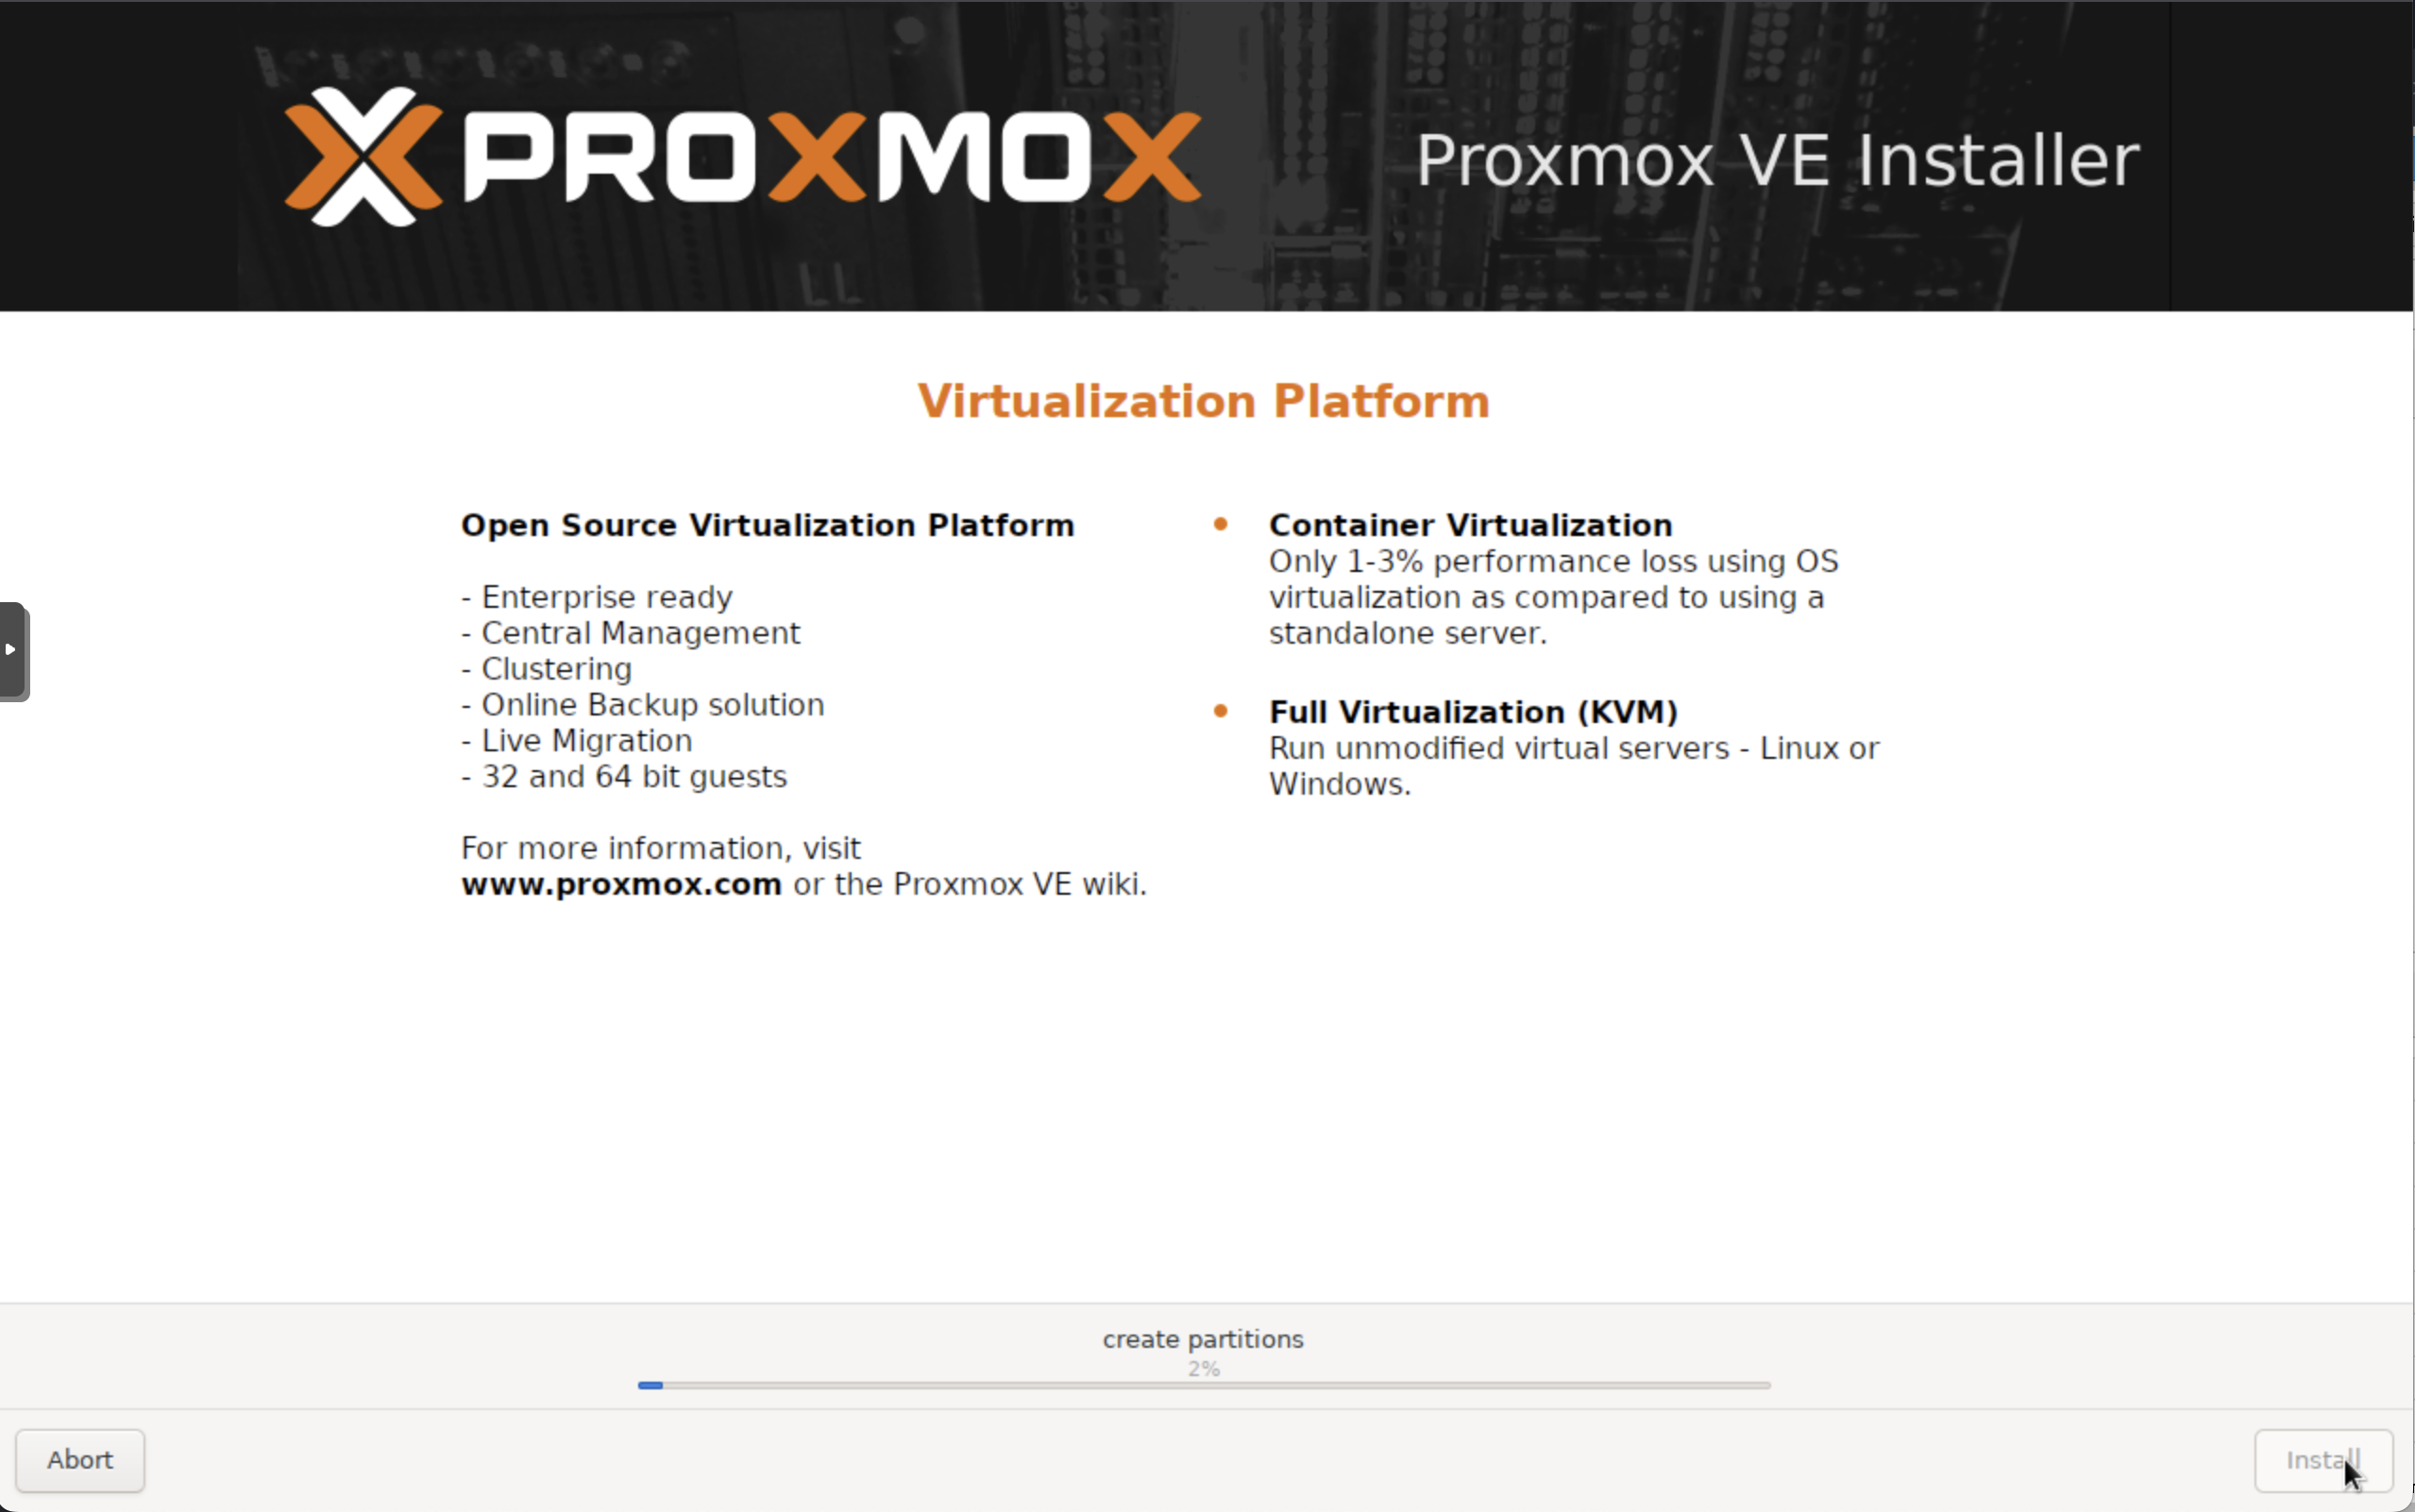
- Download the Proxmox ISO from the Proxmox website and install it directly (recommended)
- Install Debian first, then install Proxmox on top of it
Danger
To avoid accidentally installing Proxmox on the wrong drive and overwriting important data, disconnect your data drives during installation.
Proxmox provides a full installation guide on its website, including the official method for creating a USB install key.
When installing Proxmox, you can choose either the graphical installer or the terminal installer. Pick whichever you prefer; the end result is the same.
Use a dedicated SSD for the OS. It can be tempting to overengineer this step with mirrored boot disks, but for a home media server that usually is not necessary. If you like, keep a spare SSD available in case your boot drive fails.
During installation, you will be prompted to create users, set your timezone, and configure basic system settings. This guide resumes once you have rebooted into a working Proxmox system.
First steps
Assuming a successful first boot to the Proxmox login TTY, log in as with your root username / password. Now we need to configure Proxmox repositories.
By default, Proxmox ships with the enterprise repositories enabled and displays a subscription notice for unpaid installations. The excellent Proxmox helper scripts make the initial configuration for our self-hosting purposes much easier.
Info
These scripts began as the work of tteck, who sadly passed away in 2024. He left the community an excellent resource. Thanks, tteck. RIP.
They are now maintained at community-scripts/proxmox-ve and are now location at https://community-scripts.org/.
Open the community scripts website and search for Proxmox VE tools -> Proxmox VE Post Install. This script helps manage the Proxmox VE repositories, including disabling the enterprise repository, enabling the no-subscription repository, removing the subscription notice, updating Proxmox VE, and rebooting the system.
From the Proxmox command line, execute:
bash -c "$(wget -qLO - https://github.com/community-scripts/ProxmoxVE/raw/main/tools/pve/post-pve-install.sh)"
Follow the prompts, reboot, and continue here once the script has completed. The defaults are sensible. There are many other useful community helper scripts there too, so feel free to explore.
Info
When updating packages in Proxmox, use apt update followed by pveupgrade.
mergerfs installation
It is time to start thinking about disks. If you disconnected your data drives during the Proxmox installation, power down the system and reconnect them now.
mergerfs lets multiple drives of different sizes appear as a single volume. This is the pooling layer we will use for the media storage array. For more detail, see the mergerfs explanation.
At the time of writing, the version of mergerfs in the Debian upstream repositories is 2.40.2-5, while the latest upstream release on GitHub is 2.42.0-1. For that reason, this guide does not use the version directly from the Debian repositories.
The following PMS helper script downloads the latest mergerfs release from GitHub, installs the matching .deb package, and skips the install if that version is already present. You can review the script at perfectmediaserver.com/scripts/install_mergerfs.sh.
curl -fsSL https://perfectmediaserver.com/scripts/install_mergerfs.sh | sh
curl -fsSL https://perfectmediaserver.com/scripts/install_mergerfs.sh | sh -s -- --force
Verify installation with:
root@pxtest:~# apt list mergerfs
Listing... Done
mergerfs/now 2.42.0~debian-trixie amd64 [installed,local]
Remember to repeat this process every so often to pick up newer mergerfs releases. Because this guide installs mergerfs manually instead of using the Debian package manager apt, updates are not automatic.
Hard Drive setup
This section covers how to identify, partition, format, and mount the hard drives in your system.
Before you begin
Before the OS can use a data disk, it needs to be mounted. Mounting connects a filesystem on a disk or partition to a directory path, which gives the OS a place to read and write data.
In otherwords, we are going to tell the OS where we want it to make the data, stored in partitions, on our disks, available to us for applications to use. For example /dev/disk/by-id/my-disk1-part1 should make the data stored in it available at the mount point /mnt/disk1.
The most common PMS layout is one large partition per data drive, formatted with a single filesystem such as ext4 or xfs, and then mounted to a path like /mnt/diskN (N being a number).
Success
If you have not already done so, connect your data disks before continuing.
The filesystem wars have raged for decades, and there is no single correct choice. For this guide, use either ext4 or xfs to keep things simple. xfs can work slightly better with large files, such as media files, but the difference is unlikely to matter much for most PMS builds. Red Hat has a useful article on choosing your filesystem.
With mergerfs, you can safely mix filesystems and drive sizes. This is the magic of mergerfs. You do not need to stress too much about picking the perfect filesystem up front, because you are not locked into one choice forever.
Identifying drives
First, check that all your disks appear with inxi -xD (apt install inxi).
root@proxtest:~# inxi -xD
Drives:
  Local Storage: total: raw: 92.63 TiB usable: 45.84 TiB used: 19.66 TiB (42.9%)
  ID-1: /dev/nvme0n1 vendor: Western Digital model: WD BLACK SN850X 4000GB size: 3.64 TiB
    temp: 27.9 C
  ID-7: /dev/sda vendor: Crucial model: CT1000MX500SSD1 size: 931.51 GiB temp: 13.0 C
  ID-8: /dev/sdc vendor: Western Digital model: HGST_HDN728080ALE604_R6GPPDTY size: 7.2 TiB temp: 20.0 C
  ID-9: /dev/sdc vendor: Western Digital model: WD201KFGX-68BKJN0 size: 18.19 TiB temp: 20.0 C
Once everything is visible, list the stable disk identifiers on the system:
ls /dev/disk/by-id
The output will look something like this:
root@proxtest:~# ls /dev/disk/by-id
ata-HGST_HDN728080ALE604_R6GPPDTY
ata-WDC_WD100EMAZ-00WJTA0_2YJ373DD
ata-WDC_WD201KFGX-68BKJN0_ABC12345
ata-WDC_WD100EMAZ-00WJTA0_2YJ2S3AD
ata-WDC_WD100EMAZ-00WJTA0_2YJ2S3AD-part1
Next, map temporary kernel device names, such as /dev/sdc, to stable hardware identifiers, such as ata-HGST_HDN728080ALE604_R6GPPDTY. The simplest way to do this is to ask which ata-* identifier points to the same device.
root@proxtest:~# find -L /dev/disk/by-id -samefile /dev/sdc -name 'ata-*'
/dev/disk/by-id/ata-HGST_HDN728080ALE604_R6GPPDTY
root@proxtest:~# find -L /dev/disk/by-id -samefile /dev/sdc1 -name 'ata-*-part*'
/dev/disk/by-id/ata-HGST_HDN728080ALE604_R6GPPDTY-part1
Do not use /dev/sdX names for long-term drive identification, especially in /etc/fstab, because they can change after hardware changes, kernel upgrades, or controller changes. Prefer the human-readable ata-* identifier when available because it includes the drive model and serial number. If no ata-* identifier is available, use another stable /dev/disk/by-id path such as wwn-*.
Which path should I follow?
If the drive is blank or newly purchased, continue with Drive partitioning.
If the drive already has data on it, skip partitioning and formatting and go to Existing drives.
Drive partitioning
This section is only for blank drives you are ready to erase. If your drive already contains data, skip to Existing drives. Before creating a partition on a blank disk, make sure you have burned it in as covered under Hardware -> New Drive Burn-In Rituals.
Warning
BE CAREFUL HERE!!!
The next steps modify the drive's partition table. If there is any existing data on this drive, IT WILL BE WIPED.
The following steps require root access. On Proxmox you may already be logged in as root. If not, use sudo su to switch to root.
Info
If you are new to this, use the sgdisk option as it does the same thing every time and is less prone to human error
Using the example drive from the previous section, use sgdisk to create a new partition table and one large partition. The package name is gdisk, but the command we want here is sgdisk.
Replace /dev/sdc with the drive you have intentionally selected.
Danger
The command below creates a new partition table and removes any existing partition entries. USE CAUTION
sgdisk --clear --new=1:0:0 --typecode=1:8300 --change-name=1:data /dev/sdc
The options above mean:
| Option | What it does |
|---|---|
--clear | Creates a fresh GPT partition table |
--new=1:0:0 | Creates partition 1 from the first aligned sector to the end of the disk |
--typecode=1:8300 | Sets partition 1 to the Linux filesystem type |
--change-name=1:data | Names partition 1 data |
Ask the kernel to re-read the partition table.
partprobe /dev/sdc
You can verify the result with sgdisk --print.
sgdisk --print /dev/sdc
If you prefer an interactive tool, you can use gdisk instead of sgdisk.
Replace /dev/sdc with the drive you have intentionally selected.
Danger
The steps below create a new partition table and remove any existing partition entries. USE CAUTION
Start gdisk.
gdisk /dev/sdc
Once gdisk has loaded, use the following sequence to create one large partition spanning the whole drive.
o      create a new empty GPT partition table
Y      confirm
n      create a new partition
1      use partition number 1
Enter  use the default first sector
Enter  use the default last sector
8300   use the Linux filesystem type
p      print the pending partition table
w      write the changes
Y      confirm the write
Until you press w, gdisk has not written the partition table to disk.
Ask the kernel to re-read the partition table after writing the changes.
partprobe /dev/sdc
Filesystem creation
This section is only for new blank drives that you just partitioned. If your drive already contains data, do not format it. Skip to Existing drives.
Info
Repeat this step for each new drive as required.
If you are not sure, choose xfs for media storage. Replace X with your drive letter.
mkfs.xfs /dev/sdX1
mkfs.ext4 /dev/sdX1
Your new drive is now formatted and ready to store data.
Continue to Mountpoints to make it available to the OS.
Existing drives
This section is for drives that already have a filesystem and data on them.
If you just partitioned and formatted a new drive, skip ahead to Mountpoints.
Identify the existing drive and note the partition you want to mount. When using /dev/disk/by-id, the first partition is usually shown with a -part1 suffix (but not always!).
Info
Make sure you have the supporting tools for your filesystem installed, such as xfsprogs for XFS.
On Debian or Proxmox, install them with sudo apt install xfsprogs.
You should now be able to mount the drive manually:
mkdir /mnt/test
mount /dev/disk/by-id/ata-HGST_HDN728080ALE604_R6GPPDTY-part1 /mnt/test
Verify that the drive mounted and shows the expected size:
root@proxtest:~# df -h
Filesystem                        Size  Used Avail Use% Mounted on
/dev/sdc1                         7.3T  2.8T  4.6T  38% /mnt/test
To unmount the disk use umount /mnt/test.
Mountpoints
Mountpoints map physical drive partitions to directories on your system. This is how you interface with the data stored on the disk.
Once you know which partitions you want to mount, choose a mountpoint naming scheme. This guide recommends /mnt/diskN because it makes the fstab entry for mergerfs simpler thanks to wildcard support.
An example series of commands to create a minimal set of mountpoints might look like this (adjust for your setup):
mkdir /mnt/disk{1,2,3,4}
mkdir /mnt/parity1 # adjust this command based on your parity setup
mkdir /mnt/storage # this will be the main mergerfs mountpoint
mkdir /mnt/appdata # this will be where your self-hosted app configs + data live
These commands create the individual data disk mountpoints, the parity mountpoint, the merged storage mountpoint, and an appdata directory.
/mnt/storage will be used by mergerfs to pool the data disks into one merged view. This is the path you'd point Jellyfin at, for example as this merges all your individual disks into one place.
fstab entries
Next, create entries in /etc/fstab so the disks mount automatically at boot.
This file tells the OS which disks to mount, where to mount them, and which options to use. It can look complex, but each fstab entry breaks down to <device> <mountpoint> <filesystem> <options> <dump> <fsck>. See the fstab documentation for more detail.
Think of /etc/fstab in this order:
- Mount each physical data disk to
/mnt/diskN. - Mount any parity disk to
/mnt/parityN. - Mount the mergerfs pool at
/mnt/storage, using the mounted data disks as branches.
Note
mergerfs does not mount the parity drive, it only mounts /mnt/disk*. mergerfs has nothing to do with parity. SnapRAID handles that later.
Mount individual disks
Start with one fstab line per physical disk partition. These entries take the stable paths like /dev/disk/by-id/...-part1 you identified earlier, and mounts them into the directories you created under /mnt.
For a data disk, the line looks like this:
/dev/disk/by-id/ata-WDC_WD100EMAZ-00WJTA0_16G10VZZ-part1 /mnt/disk1 xfs defaults 0 0
For a SnapRAID parity disk, use the parity mountpoint instead:
/dev/disk/by-id/ata-WDC_WD100EMAZ-00WJTA0_16G0Z7RZ-part1 /mnt/parity1 ext4 defaults 0 0
Repeat that pattern for every data disk and every parity disk. If you formatted a disk as xfs, use xfs instead of ext4 in the filesystem column.
After these entries are mounted, each physical disk will have its own direct path:
/mnt/disk1
/mnt/disk2
/mnt/disk3
/mnt/disk4
/mnt/parity1
You can access files directly on these drives at anytime, though it's often best to access via the mergerfs glob mountpoint of /mnt/storage.
Mount mergerfs
Once the individual data disks have fstab entries, add one more entry for mergerfs. This line does not point at the raw disks, it points at the mounted data disk directories and presents them as one merged view (glob) at /mnt/storage.
/mnt/disk* /mnt/storage mergerfs cache.files=off,category.create=pfrd,func.getattr=newest,dropcacheonclose=false,minfreespace=200G,branches-mount-timeout=30,branches-mount-timeout-fail=true,x-systemd.mount-timeout=45s,fsname=mergerfs 0 0
The /mnt/disk* wildcard is why this guide recommends naming data disk mountpoints as /mnt/disk1, /mnt/disk2, and so on. It includes the data disks while leaving /mnt/parity1 out of the mergerfs pool.
This follows the current mergerfs QuickStart for Linux 6.6 and newer.
Complete example
Putting it together, here is what /etc/fstab might look like with four data disks and one SnapRAID parity drive:
# /etc/fstab example

# Data disks
/dev/disk/by-id/ata-WDC_WD100EMAZ-00WJTA0_16G10VZZ-part1 /mnt/disk1   ext4 defaults 0 0
/dev/disk/by-id/ata-WDC_WD100EMAZ-00WJTA0_2YHV69AD-part1 /mnt/disk2   ext4 defaults 0 0
/dev/disk/by-id/ata-WDC_WD100EMAZ-00WJTA0_2YJ15VJD-part1 /mnt/disk3   ext4 defaults 0 0
/dev/disk/by-id/ata-HGST_HDN728080ALE604_R6GPPDTY-part1  /mnt/disk4   ext4 defaults 0 0

# SnapRAID parity disk
/dev/disk/by-id/ata-WDC_WD100EMAZ-00WJTA0_16G0Z7RZ-part1 /mnt/parity1 ext4 defaults 0 0

# mergerfs pool
/mnt/disk* /mnt/storage mergerfs cache.files=off,category.create=pfrd,func.getattr=newest,dropcacheonclose=false,minfreespace=200G,branches-mount-timeout=30,branches-mount-timeout-fail=true,x-systemd.mount-timeout=45s,fsname=mergerfs 0 0
What the mergerfs options mean (click to expand)
| Option | What it does |
|---|---|
cache.files=off | Disables mergerfs page caching. This is the current upstream default for Linux 6.6 and newer |
category.create=pfrd | Places new files with percentage free random distribution. Drives with more free space are more likely to receive new files |
func.getattr=newest | Uses the newest file or directory attributes when the same path exists on more than one drive |
dropcacheonclose=false | Leaves cache dropping disabled. This matches the current upstream QuickStart for Linux 6.6 and newer |
minfreespace=200G | Stops mergerfs from creating new files on a drive once free space drops below this value |
branches-mount-timeout=30 | Waits up to 30 seconds for the data disk mountpoints to appear before building the pool |
branches-mount-timeout-fail=true | Fails the mergerfs mount if the data disks are not mounted in time |
x-systemd.mount-timeout=45s | Gives systemd longer than the mergerfs branch timeout before it gives up on the mount |
fsname=mergerfs | Shows the pool as mergerfs in tools like df and mount |
Tip
mergerfs also supports passthrough.io on Linux 6.9 and newer for faster reads and writes. This guide does not enable it by default because it changes how writes are handled and prevents moveonenospc from working. Benchmark it for your own workload before using it.
Verify mounts
After editing /etc/fstab, test the new entries before rebooting with mount -a. If that completes without errors, verify the mountpoints with df -h.
root@proxtest:~# df -h
Filesystem                        Size  Used Avail Use% Mounted on
/dev/sdo2                          59G   22G   34G  39% /
/dev/sdj1                         469G  118G  328G  27% /opt
/dev/sde1                         9.1T  7.1T  2.1T  78% /mnt/disk1
/dev/sdg1                         9.1T  547G  8.6T   6% /mnt/disk2
/dev/sdm1                         9.1T  5.6T  3.6T  62% /mnt/disk3
/dev/sdc1                         7.3T  2.8T  4.6T  38% /mnt/disk4
/dev/sdl1                         9.1T  7.2T  2.0T  79% /mnt/parity1
mergerfs                           34T   24T   10T  69% /mnt/storage
If you had any existing files on your data disks, these files will be visible under /mnt/storage.
Optional: install duf for a prettier view
If you find df hard to read, duf shows disk usage in a friendlier table.
On Proxmox or Debian, install it with:
apt install duf
Then run duf to check that your /mnt/diskN, /mnt/parityN, and /mnt/storage mounts are present.
SnapRAID
SnapRAID provides parity protection for disk arrays. It stores parity information for your data and can recover from up to six disk failures. It is mainly aimed at home media systems with large files that rarely change.
Info
The Debian repositories may lag behind the latest SnapRAID release. At the time of writing the repositories contain v12.4-1 and GitHub shows v14.6 as the latest.
Like we did with mergerfs, we will install the latest SnapRAID release directly from GitHub. The PMS helper script also installs the official SnapRAID Daemon in the same apt transaction so the daemon dependency is satisfied.
curl -fsSL https://perfectmediaserver.com/scripts/install_snapraid.sh | sh
curl -fsSL https://perfectmediaserver.com/scripts/install_snapraid.sh | sh -s -- --force
Updates with this installation method are not handled via apt so you may wish to configure a reminder to run this script every few weeks to get the latest releases. You can also automate this with a simple systemd timer by using the --force flag.
Configure SnapRAID
Familiarise yourself with the SnapRAID manual before configuring it. The manual explains the available options in more detail.
At minimum, SnapRAID needs a configuration file that tells it where to store parity, which disks contain data, and which files to include or exclude. Here is a stripped down example.
# SnapRAID configuration file

# Parity location(s)
parity /mnt/parity1/snapraid.parity

# Content file location(s)
content /var/snapraid.content
content /mnt/disk1/.snapraid.content

# Data disks
data d1 /mnt/disk1
data d2 /mnt/disk2
data d3 /mnt/disk3
data d4 /mnt/disk4

# Commonly excluded files
exclude *.unrecoverable
exclude /tmp/
exclude /lost+found/
exclude downloads/
exclude appdata/
exclude *.!sync
Automating Parity Calculation
SnapRAID works by taking snapshots, so we need to configure this parity calculation to occur at regular intervals. The old PMS guidance used snapraid-runner from cron, but SnapRAID v14 now has an official SnapRAID Daemon for this job.
The daemon still uses the normal SnapRAID CLI underneath, but it adds scheduling, delete/update thresholds, SMART monitoring, notifications, a Web UI, and a REST API. It is the preferred option for new installs.
The SnapRAID Daemon expects SnapRAID CLI v14 or newer to already be installed and configured with the /etc/snapraid.conf file created above. The PMS install script used earlier installs both SnapRAID and the daemon together.
Next, create or edit /etc/snapraidd.conf. This is where the SnapRAID Daemon reads its settings.
The package may already place a commented example there. The upstream snapraidd.conf.example explains every value below and covers the rest of the daemon options too.
| Setting | What it does |
|---|---|
maintenance_schedule = 02:00 | Runs maintenance at 2 AM every day. You can also use values like Mon 03:00, Thu 03:00 |
sync_threshold_deletes = 50 | Stops the maintenance run if deleted or missing files reach this number. Set to 0 to disable |
sync_threshold_updates = 100 | Stops the maintenance run if updated files reach this number. Set to 0 to disable |
touch_zero_subseconds = 1 | Helps SnapRAID recognize moved and copied files when timestamps have zero sub-second precision |
scrub_percentage = 0.7 | Scrubs this percentage of the array after a successful sync. Increase this if you want more aggressive checking |
scrub_older_than = 10 | Only scrubs blocks older than this number of days |
probe_interval_minutes = 3 | Checks disk state and SMART data when disks are already awake. Set to 0 to disable |
spindown_idle_minutes = 15 | Spins down data and parity disks after this many idle minutes. Set to 0 to disable |
notify_heartbeat | Sends a heartbeat to Healthchecks.io or a similar dead man switch service |
notify_result and notify_result_level | Sends email, ntfy.sh, or custom notification script results |
Put a minimal starting config like this in /etc/snapraidd.conf. If the file already exists, update these lines and leave the rest of the comments in place.
maintenance_schedule = 02:00
sync_threshold_deletes = 50
sync_threshold_updates = 100
touch_zero_subseconds = 1
scrub_percentage = 0.7
scrub_older_than = 10
probe_interval_minutes = 3
spindown_idle_minutes = 15

# Optional Healthchecks.io heartbeat after a successful maintenance run
#notify_heartbeat = curl -f --max-time 30 --retry 3 https://hc-ping.com/123-1103-xyz-abc-123
Enable and start the daemon.
sudo systemctl enable --now snapraidd
sudo systemctl status snapraidd
By default, keep the Web UI bound to localhost and reach it through SSH port forwarding or a trusted VPN. If you expose it through Tailscale or your LAN, review the net_port and net_acl settings first.
net_enabled = 1
net_port = 127.0.0.1:7627
net_acl = +127.0.0.1,+::1
Info
Older guides used snapraid-runner for cron-based automation. It still works, but do not run it on the same schedule as the SnapRAID Daemon. Pick one automation layer.
Info
During a sync, SnapRAID writes a .content file to /var/ and needs write access to that directory. Running the daemon as root via its system service is the simple and reliable solution.
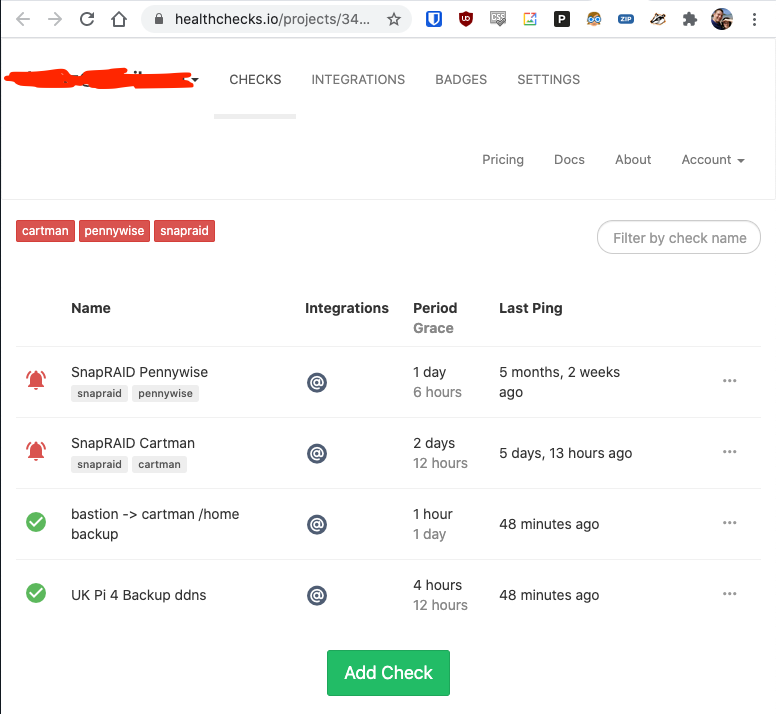
Healthchecks.io
https://healthchecks.io/ notifies you when your nightly backups, weekly reports, cron jobs and scheduled tasks don't run on time.
For SnapRAID Daemon, configure this with notify_heartbeat so Healthchecks.io is pinged after a successful maintenance run.
It is self-hostable in a container, but that depends on the local system being online. A cheap VPS can be a good fit for this purpose.
Containers
To run apps on top of the base OS, use docker.
docker
Proxmox is based on Debian, which makes Docker installation straightforward. Follow Docker's installation documentation or use this simple one-liner.
curl -fsSL https://get.docker.com | sh
docker compose
docker compose defines and runs multiple containers at once. It reduces starting, stopping, and upgrading many containers to a single command. It ships with Docker and requires no extra configuration.
Here is an example compose.yaml file for a simple nginx webserver deployment. This is the same basic pattern used to deploy the site you are reading now.
---
services:
  ktz-nginx-pmswiki:
    image: nginx
    container_name: ktz-nginx-pmswiki
    volumes:
      - /tank/appdata/pms-wiki/site:/usr/share/nginx/html:ro
    restart: unless-stopped
Container file permissions
You might have already created a user during Proxmox installation, if not, create one local, non-root user to own the files your containers and network shares write. This guide uses ironicbadger for that shared identity.
The LinuxServer.io team runs one of the most popular container projects on the web. Their fleet of containers covers most apps a media server user is likely to need. They helped popularise PUID and PGID environment variables, which make container file permissions much easier to manage.
Success
Make sure host volume directories are owned by the same user you specify in the container.
When using container volumes, permission issues can appear between the host OS and the container. Avoid this by using containers that support the PUID and PGID variables. Not all containers support them, but all LinuxServer.io containers do.
Create the local user, then use id to find its UID and GID. If ironicbadger already exists, skip the adduser command.
adduser ironicbadger
id ironicbadger
On a fresh system this will usually return uid=1000 and gid=1000.
root@proxtest:~# id ironicbadger
uid=1000(ironicbadger) gid=1000(ironicbadger) groups=1000(ironicbadger)
In this example, use PUID=1000 and PGID=1000 for containers that write into host volumes.
You can check the owner of a specific file or directory with ls -la.
Network File Sharing
A NAS or file server is not very useful unless other machines can access the data. In this section, remote access means other computers on your LAN, such as Raspberry Pis, media players, and Kodi clients. For access over the internet, see the remote access section and the Top 10 Self-Hosted apps list.
There are two main ways to share files over the network. Samba works well across Windows, macOS, and Linux. NFS is a good fit for Linux clients.
Samba
Samba has two parts. The server shares files, and the client connects to those shares.
Info
This guide has more detail on setting up Samba.
Start by configuring the server.
Samba server
Convenience vs security
This Samba example is intentionally convenience-first. PMS is usually used on a trusted home LAN by family members, media players, laptops, and phones, where easy access to a shared media pool matters more than absolute security.
The [storage] share below allows guest read/write access. Anyone on your LAN who can reach the Samba server can modify files in that share. Do not expose Samba directly to the internet (this is just good practice anyway). For access away from home use one of the remote access approaches covered later in the guide.
If you want named users, auditability, or private folders, set guest ok = no, create Samba users with smbpasswd, remove the force user and force group lines if you want per-user file ownership, and restrict access with normal Linux ownership, groups, and permissions.
As usual, the Arch Wiki has a detailed entry on setting up and configuring a Samba server. Although PMS does not use Arch, much of the configuration guidance still applies.
If you want the simplest way to get started with Samba, follow these steps.
- First, install Samba.
apt install samba
Local share user
Use the same ironicbadger user for Samba that you use for containers. If you skipped the container permissions section, create it now with adduser ironicbadger. This keeps the media pool from becoming root-owned and gives Samba and your containers a common identity to use.
chown -R ironicbadger:ironicbadger /mnt/storage
chmod -R u+rwX,g+rwX,o+rX /mnt/storage
find /mnt/storage -type d -exec chmod g+s {} \;
id ironicbadger
If you use a different share path, replace /mnt/storage above. On an existing media library, the chown command can take a while.
- Next, create
/etc/samba/smb.confwith the following contents. Adjust the paths and home directory for your system.
[global]
    workgroup = KTZ
    server string = cartman
    security = user
    guest ok = yes
    map to guest = Bad User
    log file = /var/log/samba/%m.log
    max log size = 50
    printcap name = /dev/null
    load printers = no

# Samba Shares
[home]
    comment = alex home folder
    path = /home/alex
    browseable = yes
    read only = no
    guest ok = no

[storage]
    comment = Primary Storage
    path = /mnt/storage
    browseable = yes
    read only = no
    guest ok = yes
    force user = ironicbadger
    force group = ironicbadger
    create mask = 0664
    directory mask = 0775
- Guest access to
[storage]does not require a Samba password. If you want to connect asironicbadgertoo, Samba uses a password separate from the normal login password.
smbpasswd -a ironicbadger
- List existing Samba users with this command.
pdbedit -L -v
- Check the configuration before restarting Samba.
testparm -s
- Once you are happy with the configuration, restart the Samba service.
systemctl restart smbd
Verify access from a client.
smbclient -L serverip -N
smbclient //serverip/storage -N -c 'ls'
Use -U ironicbadger instead of -N if you disabled guest access and created a named Samba user.
Open Finder, press Command+K, and enter smb://serverip/storage.
Open File Explorer and enter \\serverip\share in the address bar.
After a client connects, you can view active Samba sessions on the server with smbstatus.
Samba client
The Arch Wiki also has useful client configuration notes. This section assumes you are mounting the share on a Linux CLI based system, such as a Raspberry Pi.
- First, install the command-line SMB tools.
smbclientlists and tests shares.cifs-utilsis needed for mounting SMB shares through/etc/fstab.
apt install smbclient cifs-utils
- Now verify the available shares.
alex@cartman:~$ smbclient -L cartman -N

    Sharename       Type      Comment
    ---------       ----      -------
    home            Disk      alex home folder
    opt             Disk      opt directory
    storage         Disk      Storage on cartman
    photos          Disk      Storage on cartman
    IPC$            IPC       IPC Service (cartman)
SMB1 disabled -- no workgroup available
Mounting Samba via fstab
On a remote system, you may want to mount Samba shares permanently using /etc/fstab. Make sure the client has its equivalent of cifs-utils installed, then add an entry like this to /etc/fstab.
//SERVER/sharename /mnt/mountpoint cifs _netdev,username=ironicbadger,password=mypass 0 0
Make sure the mountpoint exists. If it does not, create it with mkdir /mnt/mountpoint. For named mounts, make sure smbpasswd is configured as described above.
NFS
Once again, the Arch Wiki is the best place to go deeper on NFS. There is a lot of useful information in that article.
NFS is less common for home media server use these days. Most users can get by happily with Samba alone. If you need NFS, you will probably know why.
- Install the required server package.
apt install nfs-kernel-server
- Create a list of exports in
/etc/exportsthat looks something like this.
/mnt/storage 192.168.1.0/24(rw,sync,crossmnt,fsid=0)
- If the NFS server is running, re-export shares for changes to take effect.
exportfs -arv
- View the current exports.
exportfs -v